How to Install a Grid False Ceiling: A Step-by-Step Guide
Introduction
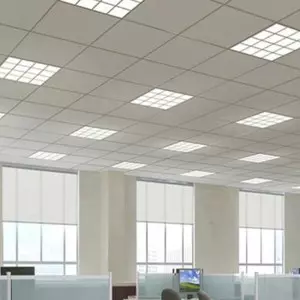
A grid false ceiling, also known as a suspended ceiling or drop ceiling, is a secondary ceiling installed below the primary ceiling. It consists of a grid-like framework made of metal or PVC channels that support the ceiling tiles. Grid false ceilings offer numerous benefits, including improved aesthetics, sound insulation, and the ability to hide unsightly wires and pipes.
2. Planning and Preparation
Before you begin the installation process, proper planning and preparation are crucial to ensure a successful outcome.
2.1 Assessing the Ceiling Height
Measure the height of the room to determine the appropriate drop for your grid false ceiling. Take into account any existing fixtures like lights or fans that may affect the ceiling height.
2.2 Choosing the Right Materials
Select high-quality materials for your grid false ceiling, including main tees, cross tees, wall angles, and ceiling tiles. Consider factors such as durability, fire resistance, and acoustics when choosing the materials.
2.3 Calculating the Required Materials
Based on the measurements of your room, calculate the number of main tees, cross tees, wall angles, and ceiling tiles needed for the installation. Add a few extra pieces to account for any mistakes or replacements in the future.
3. Marking the Grid Layout

Using a chalk line or laser level, mark the layout of the grid on the ceiling. Start by marking the position of the main tees, which are the primary support beams of the grid. Ensure the grid lines are straight and perpendicular to the walls.
4. Installing the Main Tees
Attach the wall angles to the walls using screws or adhesive. The wall angles provide support for the main tees. Install the main tees perpendicular to the wall angles, securing them at regular intervals using clips or hanger wires. Ensure the main tees are level and properly aligned.
5. Placing the Cross Tees
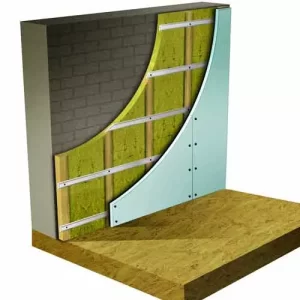
Place the cross tees into the slots of the main tees, creating a grid pattern. Use a level to ensure the cross tees are straight and level. Trim the cross tees if necessary to fit the dimensions of the room.
6. Installing the Ceiling Tiles
Carefully place the ceiling tiles into the grid, starting from one corner of the room. Gently push each tile into position, making sure they fit snugly and evenly. Adjust the tiles as needed to create a uniform and seamless appearance.
7. Finishing Touches
To complete the installation of your grid false ceiling, consider adding some finishing touches.
7.1 Painting the Ceiling
If desired, paint the ceiling tiles with a suitable paint to match the overall color scheme of the room. Ensure you use paint specifically designed for ceiling tiles to maintain their fire resistance and acoustic properties.
7.2 Adding Lighting Fixtures
Install recessed lights or other lighting fixtures to enhance the ambiance of the space. Consult an electrician to ensure proper wiring and installation of the fixtures.
Conclusion – How to Install a Grid False Ceiling
Installing a grid false ceiling can transform the look and feel of any room. By following the step-by-step guide outlined in this article, you can achieve a professional and visually appealing ceiling installation. Remember to pay attention to detail and follow safety guidelines throughout the process.
Frequently Asked Question- How to Install a Grid False Ceiling
1 Can I install a grid false ceiling myself?
Answer: Yes, with proper planning and the right tools, installing a grid false ceiling can be a DIY project. However, if you are unsure or inexperienced, it is recommended to hire a professional for the best results.
2 How long does it take to install a grid false ceiling?
Answer: The time required to install a grid false ceiling depends on the size of the room and the complexity of the design. On average, it can take a few days to complete the installation.
3 Can a grid false ceiling be installed in any room?
Answer: Yes, grid false ceilings can be installed in various types of rooms, including residential and commercial spaces. They are versatile and can accommodate different ceiling heights and designs.
4 How do I maintain a grid false ceiling?
Answer: Regular cleaning and dusting are essential to maintain the appearance of your grid false ceiling. Avoid using harsh chemicals or abrasive materials that could damage the tiles. If any tiles are damaged, replace them promptly to ensure the integrity of the ceiling.
5 Can I remove a grid false ceiling if needed?
Answer: Yes, grid false ceilings can be removed if necessary. However, the process can be time-consuming and may require professional assistance, especially if the ceiling has been in place for a long time.
Grid Ceiling Products
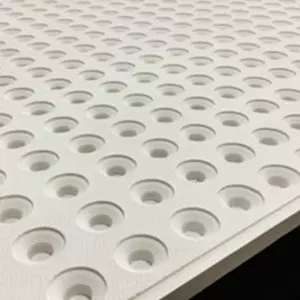
Grg ceiling tiles acoustic ceiling tiles
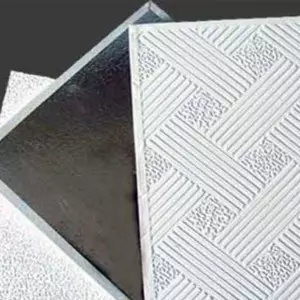
PVC Gypsum Laminated Ceiling Tile
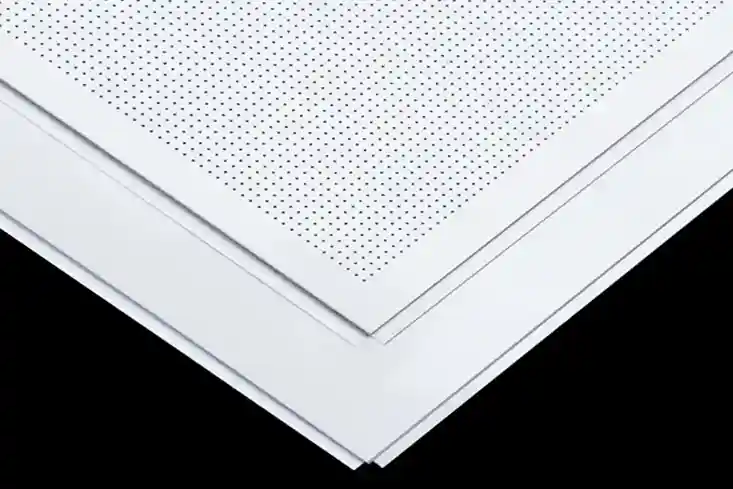
Metal Ceiling Tile
Contact Us
Mobile: +919008400701 / 705
Email: sales@jayswalgroup.com

Visit Us
Address:
#6, 10th B Cross, Jayswal Center, KHB Main Road, Kaveri Nagar, Kanakanagar, RT Nagar, Bangalore – 560032, Karnataka, India.
Other Websites: